3D modeling of a product is the process of creating a mathematical, three-dimensional representation of an object using specialized software. Unlike a traditional photograph, which captures a single point in time and space, a 3D model is a “living” digital asset that can be rotated, modified, animated, and rendered from any conceivable angle.
In a market where consumers demand interactivity, 3D modeling has moved from a “nice-to-have” tech experiment to the backbone of modern commerce. It bridges the gap between a conceptual sketch and a physical product, allowing brands to visualize, test, and market items before a single unit ever leaves the factory floor.
If you’ve browsed IKEA’s catalog or looked at a new smartphone on a landing page, you’ve likely seen 3D models without realizing it. The goal isn’t just to make a “cool graphic”; it’s to create a digital twin so accurate that it becomes indistinguishable from reality.
How 3D Product Modeling Actually Works
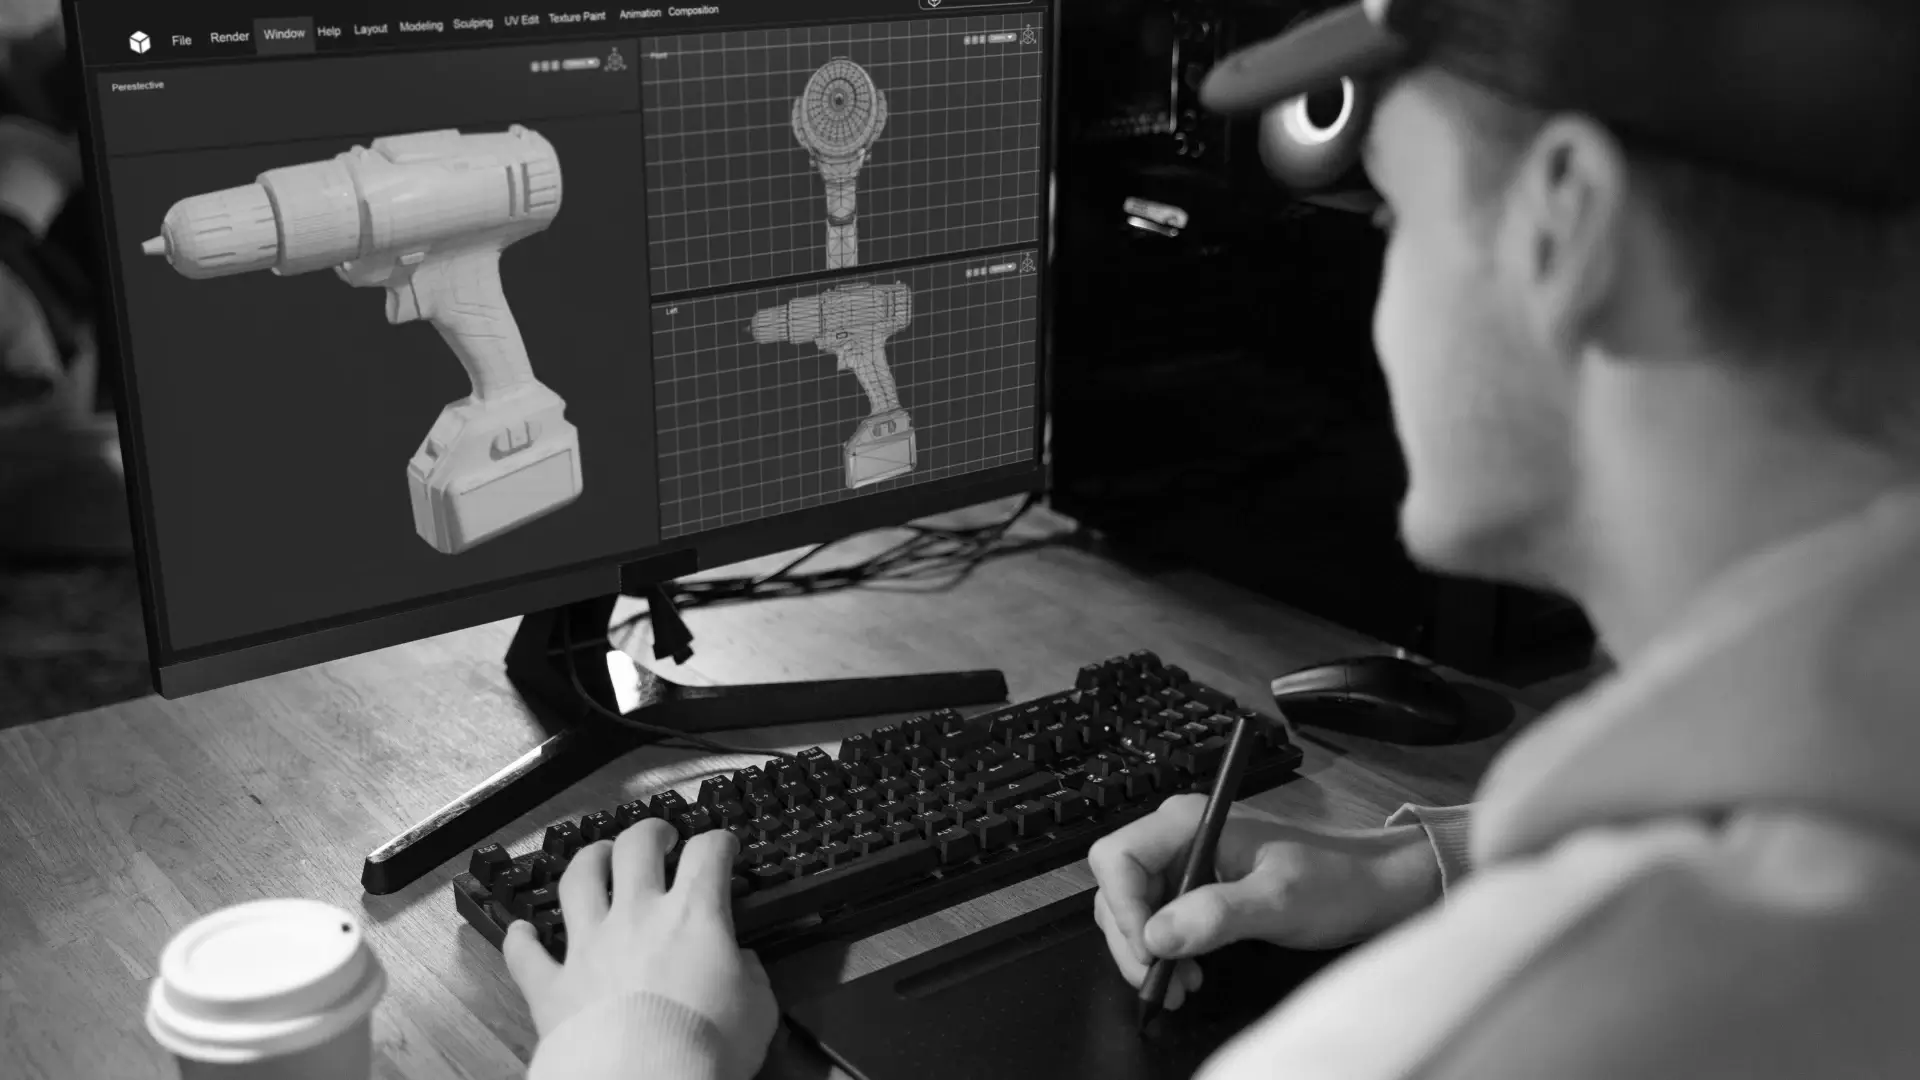
At its core, 3D product modeling is about geometry, defining points in a virtual space to create a physical-looking asset. An artist uses software to define points in a virtual 3D space. When these points (vertices) are connected by lines (edges), they form surfaces (polygons). Thousands or even millions of these polygons come together to create the “mesh” or the shell of the product.
However, a gray mesh doesn’t look like a product. To achieve realism, designers apply materials and textures. This involves defining how light interacts with the surface—is it brushed aluminum that blurs reflections, or high-gloss plastic that acts like a mirror? By simulating real-world physics, the model begins to take on the weight and feel of a physical object.
Finally, the model is rendered. This is the process where the computer calculates light, shadows, and reflections to produce a 2D image or video. This “digital photoshoot” can be repeated infinitely with different lighting setups without the cost of renting a physical studio.
Why 3D Assets are Replacing Traditional Photography
The transition from photography to 3D modeling isn’t just about aesthetics; it’s about logistics and versatility. Traditional photography is linear—you ship a sample, hire a photographer, set up the lights, and get a set number of shots. If the product design changes slightly, you start over.
3D promodelling offers a non-linear workflow. Once a high-quality model is built, you can change the color, the material, or the environment in clicks, which is why many brands are turning to custom 3D modeling to create flexible, reusable visual assets. This “create once, use everywhere” philosophy allows a single asset to be used for:
• Static website imagery
• Augmented Reality (AR) “view in room” features
• Social media animations
• Technical assembly manuals
Key Components of a Professional 3D Model
To understand what makes a “good” model, you have to look under the hood. A professional-grade product model consists of four primary layers:
1. The Geometry (The Mesh)
The physical shape of the object. High-quality models use “clean topology,” meaning the polygons are arranged in a way that allows the model to bend or deform without looking glitchy. For e-commerce, artists often create a “low-poly” version for fast web loading and a “high-poly” version for close-up marketing renders.
2. UV Mapping
Think of this as unwrapping a chocolate bar. UV mapping is the process of flattening a 3D surface into a 2D plane so that textures and labels can be painted onto it accurately. Without proper UV mapping, logos will look stretched or distorted.
3. PBR Materials (Physically Based Rendering)
PBR is the industry standard for realism. It uses data-driven maps to tell the software exactly how “metal” or “rough” a surface is. This ensures that the product looks consistent whether it’s placed in a dark room or under bright sunlight.
4. Rigging and Constraints
If a product has moving parts—like a folding chair or a laptop hinge—the model needs a “rig.” This is a digital skeleton that defines how parts move and where they stop, ensuring that animations remain physically accurate.
Common Use Cases Across Industries
Specialized 3D modeling isn’t just for tech gadgets; they are pervasive across almost every consumer sector, providing technical and marketing value.
• Furniture and Home Decor: Brands like Wayfair use 3D models to power AR apps, letting customers see if a sectional sofa actually fits in their living room before purchasing.
• Consumer Electronics: Because electronics move through rapid design cycles, 3D models allow marketing teams to create “hero shots” and teaser videos while the hardware is still being finalized in the lab.
• Packaging Design: Designers use 3D modeling to visualize how light hits different foil stamps or matte finishes on a box, saving thousands in physical prototyping costs while improving packaging design that looks right before it goes into production.
• Automotive: Car configurators are entirely 3D-based, allowing users to swap rims, paint colors, and interior trims in real-time.
The Different Types of 3D Modeling Techniques
Depending on the product, a designer might choose one of three primary paths:
CAD (Computer-Aided Design)
Commonly used for engineering and manufacturing (SolidWorks, Rhino). CAD models are mathematically perfect and focus on how a product is built. While great for blueprints, they often require “cleanup” before they can be used for beautiful marketing renders.
Polygonal Modeling
The standard for most consumer products (3ds Max, Blender, Maya). It’s highly flexible and allows for organic shapes, fine details like stitching on a leather bag, or the slight imperfections that make an object look “real.”
Photogrammetry (3D Scanning)
This involves taking hundreds of photos of a physical object from every angle and using software to “stitch” them into a 3D mesh. This is ideal for complex, organic items like footwear or food, where manual modeling would be too time-consuming.
Common Mistakes in Product Modeling
Even with the best software, it’s easy to create a model that feels “uncanny” or fake. Here are the pitfalls to avoid:
- Perfect Corners: In the real world, no edge is 100% sharp. A perfectly sharp edge in a 3D model looks like a digital razor. Adding a tiny “bevel” or rounded edge catches the light and makes the product look authentic.
- Ignoring Scale: Modeling a watch in a scene meant for a car without checking real-world dimensions leads to lighting and texture inconsistencies. Always model at a 1:1 scale.
- Over-Optimization: Making a model too simple (low-poly) to save on file size can result in “faceted” curves where you can see the straight lines of the triangles.
- Lack of Surface Imperfections: A brand-new product still has microscopic dust, slight grain, or very faint fingerprints. Adding “noise” to the textures prevents the model from looking like a sterile plastic toy.
Best Practices for Creating High-Converting 3D Assets
If you are commissioning or building 3D models for a business, follow these standards:
• Optimize for Web First: For e-commerce, your final file (often in GLB or USDZ format) should ideally be under 5MB to ensure it loads instantly on mobile devices.
• Maintain Brand Consistency: Ensure that the “digital” version of your product matches the physical production sample exactly. Discrepancies lead to high return rates.
• Use Neutral Lighting for AR: If the model is meant for Augmented Reality, use “neutral” lighting. This allows the AR software to overlay the real-world room’s lighting onto the model more naturally.
• Focus on the “Hero” Details: Spend the most time on the parts the customer interacts with—buttons, textures, and logos.
FAQ: Common Questions About 3D Product Modeling
Q: Is 3D modeling more expensive than photography?
A: Initially, the “setup cost” of a 3D model may be higher than that of a single photo. However, because that model can produce hundreds of images and videos over its lifetime, the cost per image is significantly lower in the long run.
Q: Do I need the physical product to create a 3D model?
A: No. A skilled modeler can work from 2D sketches, blueprints, or even reference photos. This allows you to start marketing your product before the first physical prototype is even manufactured.
Q: What is the best file format for 3D product models?
A: For web and AR, GLB and USDZ are the gold standards. For high-end rendering and animation, FBX or OBJ are more common due to the amount of data they can hold.
Q: Can 3D models be used for 3D printing?
A: Yes, provided the model is “watertight” (no holes in the mesh) and exported as an STL or OBJ file. However, marketing models often need slight adjustments to be physically printable.
Q: How long does it take to model a product?
A: A simple bottle or box might take 4–8 hours. A complex piece of machinery or a detailed athletic shoe can take 40–60 hours to perfect the textures and geometry.
Key Takeaways
• Definition: 3D product modelling is the creation of a digital twin that simulates the geometry and material properties of a physical object.
• Versatility: One 3D model can generate photos, videos, AR experiences, and virtual showroom assets.
• Realism: Achieved through PBR materials, proper UV mapping, and adding slight real-world imperfections.
• Efficiency: It eliminates the need for physical shipping, studio rentals, and reshoots when designs change.
• Conversion: Interactive 3D content is proven to increase “time on page” and reduce return rates by giving customers a better understanding of the product.
Conclusion
3D modeling has redefined the lifecycle of a product. It is no longer just a step in the design process; it is a fundamental marketing and sales tool. By investing in high-quality digital assets, brands can move faster, spend less on traditional media production, and provide the interactive experiences that modern shoppers expect.
Whether you are a startup looking to visualize your first invention or an established retailer digitizing a catalog, 3D modelling provides a level of flexibility that traditional cameras simply cannot match. If you are looking to elevate your brand’s visual identity, SAGA Designs offers comprehensive graphic design services that bridge the gap between technical 3D precision and world-class creative execution. The future of the “product shot” isn’t in a studio—it’s in the software.