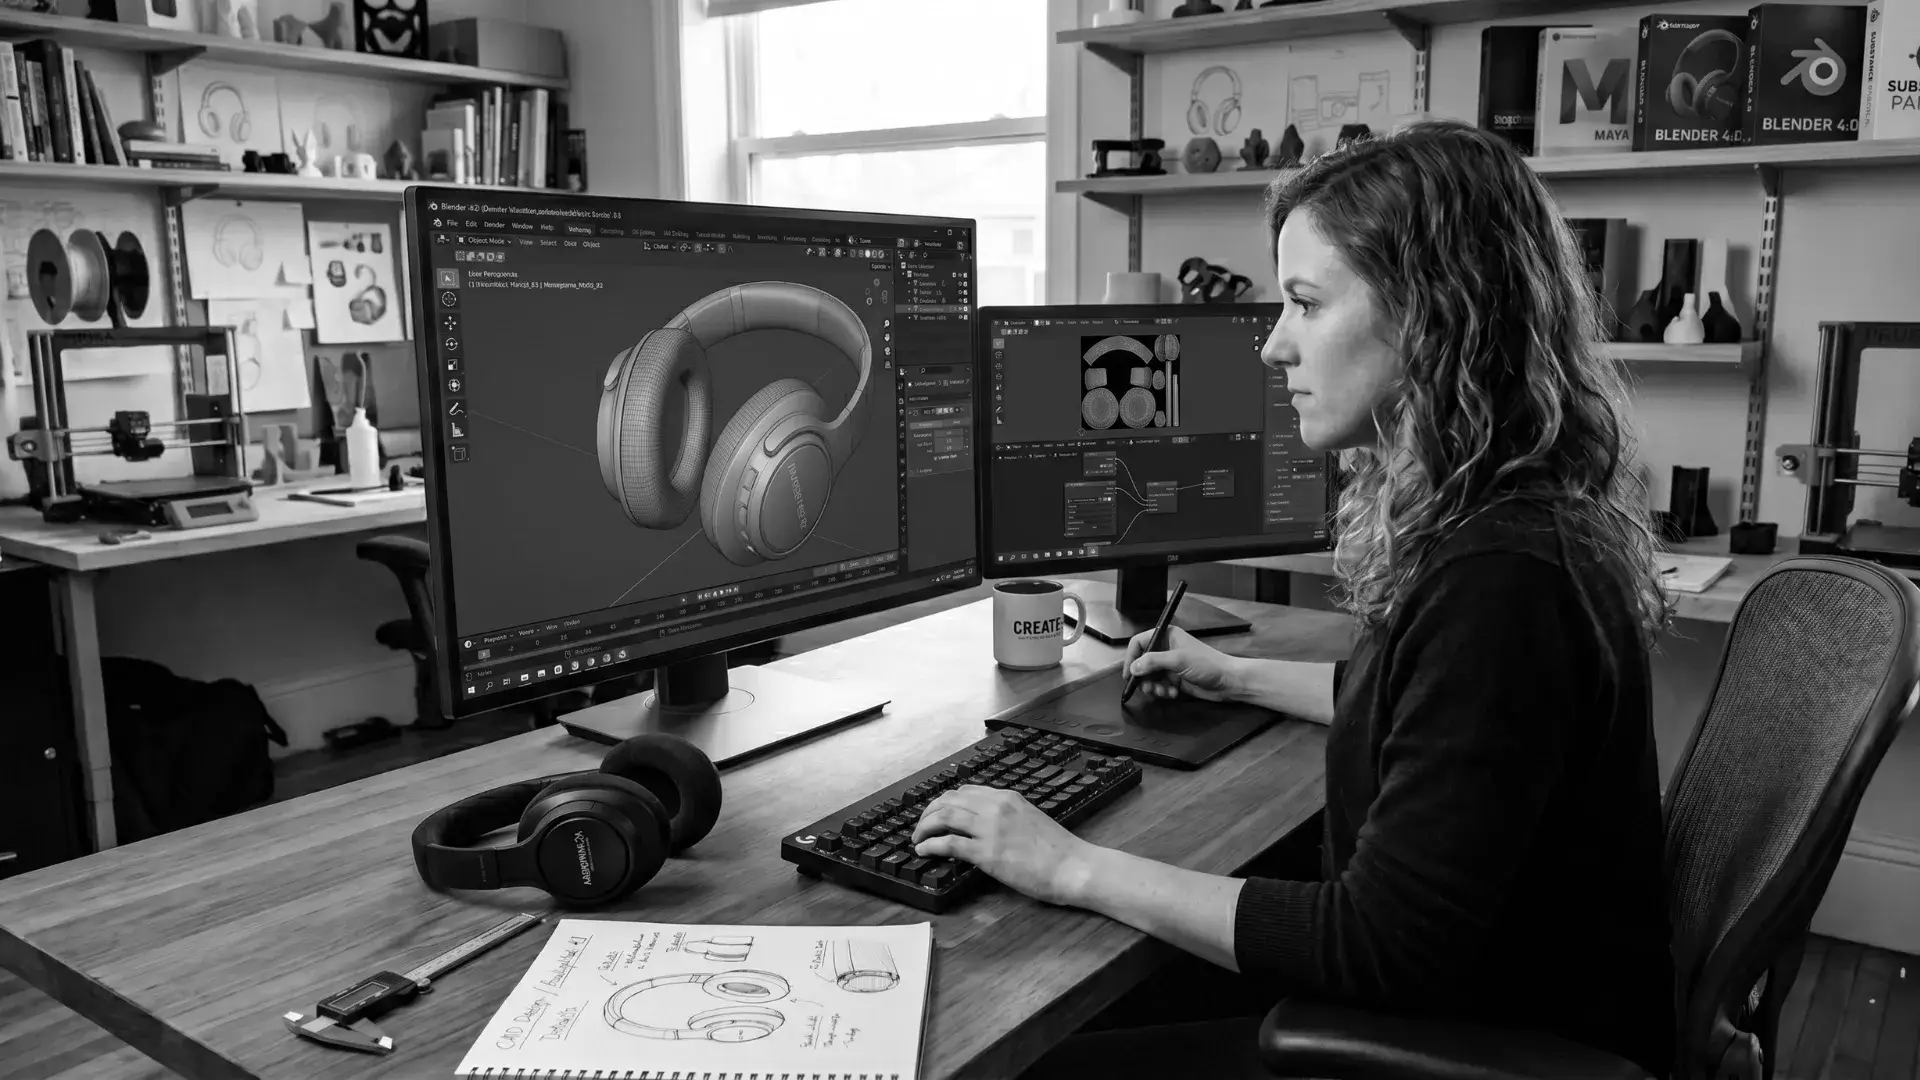
To create a 3D product model, pick modeling software (Blender is free and great for beginners), build a basic shape, add materials and textures, set up lighting, and render your final image. The whole process can take a few hours for simple objects once you know the steps.
3D product modeling sounds intimidating at first. You see those perfectly lit bottle mockups, shoe renders, or product visuals and think there’s some secret behind them. There isn’t. Many brands start by using professional 3D product modeling services, but it’s still just a process, and once you know the steps, it gets much easier.
This guide walks you through every step, from picking software to exporting a render you can actually use. No prior experience needed.
What is 3D product modeling, and why does it matter?
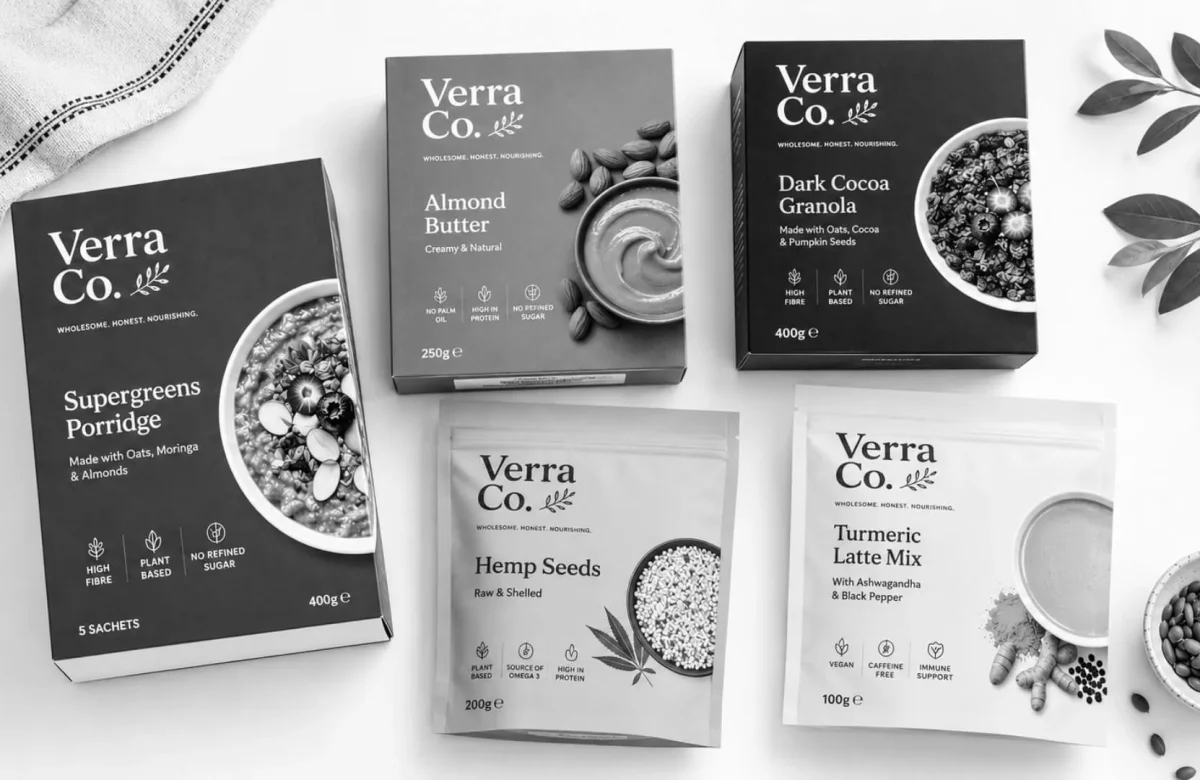
3D product modeling is building a digital version of a physical product using software. Brands use it for product visualization, marketing, e-commerce images, and packaging design without needing a physical prototype.
Think about those Amazon product images that show a bottle rotating from every angle, or the shoe renders you see in Nike ads. Most of those aren’t photographs. They’re 3D models rendered to look real.
For designers and brands, understanding what is 3D product modeling and how it works saves massive amounts of time and money. You can show a client exactly what a product will look like before it’s manufactured and change colors or materials in minutes, not weeks.
It’s also useful for e-commerce product visualization, packaging design mockups, and animated product videos.
What software should you use to create a 3D product model?
Blender is the best free option for beginners. It handles modeling, texturing, lighting, and rendering all in one place. For professional work, Cinema 4D and KeyShot are popular choices. Start with Blender if you’re just getting started.
Here’s a quick breakdown:
• Blender: Free, open-source, very capable. Great for beginners and professionals alike.
• Cinema 4D: Paid software, popular in motion graphics and product design. Cleaner interface.
• KeyShot: Primarily a rendering tool. Often paired with CAD software for product visualization.
• Autodesk Maya / 3ds Max: Industry standard for complex models, steeper learning curve.
• Shapr3D / Fusion 360: Good for technical, mechanical product design. Uses CAD-based modeling.
If you’re a complete beginner, download Blender. It’s free, and the community is massive, so tutorials are easy to find.
How do you start building your 3D product model?
Start by gathering reference images of your product from multiple angles. Then open your software, create a basic geometric shape that matches your product’s form, and use modeling tools to shape it correctly.
Step 1 – Gather your reference images
Before touching any software, collect clear photos of your product from the front, side, back, and top. These are called reference sheets. If you’re modeling a perfume bottle, get four clear photos from different angles.
You can set these reference images up inside Blender as background images so you can model directly over them. This keeps your proportions accurate.
Step 2 – Set up your workspace and units
Open Blender. Before you start modeling, set your scene units to match real-world measurements (centimeters or inches). This matters if your product has specific dimensions.
Import your reference images into the front and side viewports. This gives you a guide to model against.
Step 3 – Block out the basic shape
Start with a simple primitive mesh. A cube, cylinder, or sphere, depending on what your product looks like. A bottle? Start with a cylinder. A phone case? Start with a cube.
This phase is called “blocking out.” You’re just getting the rough shape right, not the details. Don’t worry about perfection here.
Use these tools in Blender:
• Extrude (E) to pull faces outward
• Loop Cut (Ctrl+R) to add more geometry
• Scale (S) to resize parts
• Grab/Move (G) to position vertices
Step 4 – Add details and refine the shape
Once the basic shape is right, start adding smaller details. Caps, ridges, label areas, threads on a bottle cap, buttons on a phone, curves on a shoe sole. This is where your model starts actually looking like the product.
Use the Subdivision Surface modifier in Blender to smooth out hard edges and make the model look more realistic. This is a very common technique in 3D product modeling.
Take your time here. This step takes the longest and has the biggest impact on the final result.
How do you add materials and textures to your 3D product model?
In Blender, go to the Material Properties panel and create a new material. Set the color, roughness, and metallic values to control how the surface looks. For complex surfaces, add image textures like labels or patterns using UV mapping.
Step 5 – Apply base materials
Select your object and open the Material Properties tab. Create a new material. The most important settings in Blender’s Principled BSDF shader are:
• Base Color: The main color of your surface
• Roughness: 0 is perfectly shiny (like glass or chrome), 1 is totally matte
• Metallic: 1 makes it look like metal, 0 makes it look like plastic or rubber
A glass bottle would have low roughness, high transmission, and zero metallic. A metal cap would have high metallic and low roughness. Play with these values and watch what happens.
Step 6 – Add image textures for labels and branding
If your product has a label, you’ll need UV unwrapping. This is the process of unfolding your 3D model flat so you can project a texture onto it.
In Blender, select your object, go to Edit Mode, select all faces, and use UV Unwrap. Then create a texture image, place your label on it, and connect it to your material in the Shader Editor.
If your label is a flat design, export it from Illustrator or Photoshop as a PNG and use it as your texture file directly.
How do you set up lighting for product rendering?
Use a three-point lighting setup: a key light (main light), a fill light (softer, from the opposite side), and a rim light from behind to separate the product from the background. Good lighting makes average modeling look great.
Step 7 – Set up your lighting
In Blender, you can use:
• Area lights: Soft, even light. Great for product renders.
• HDRI environments: A 360-degree light map that wraps around your scene. Gives very realistic, even lighting. Download free HDRIs from Poly Haven.
• Point lights: Precise control over where light hits.
A simple setup: one large area light above and slightly in front of your product, one fill light from the side at 50% strength, and an HDRI for ambient lighting. This works for most product renders.
Studio white background renders use a plane with a white emission material behind the product. Simple and effective.
How do you render your 3D product model?
In Blender, switch to the Cycles render engine. Set your resolution to at least 1920×1920 for product images, adjust your sample count to 256 or higher for a clean result, and hit Render. Save the output as a PNG with a transparent background.
Step 8 – Configure your render settings
Go to Render Properties in Blender. Switch to the Cycles engine. Set your resolution to at least 1920 x 1920 pixels. If you have a GPU, enable GPU rendering. It’s significantly faster.
Samples control quality. More samples equal a cleaner image but a slower render. For a final render, 256 to 512 samples is a solid starting point. For quick previews, 64 works fine.
Step 9 – Render and export
Hit F12 to start your render. Once it’s done, go to Image > Save As and save as PNG with transparency enabled. Go to Render Properties > Film > Transparent to make the background transparent.
You now have a clean 3D product render with a transparent background, ready to drop into any design, mockup, or web page.
What are common mistakes beginners make in 3D product modeling?
The most common mistakes are skipping reference images, overcomplicating geometry early on, and not paying attention to lighting. Bad lighting makes great modeling look flat. Good lighting hides a lot of imperfections.
• Skipping reference photos and guessing proportions
• Adding too much detail before the basic form is right
• Using too many polygons where simple geometry works fine
• Ignoring UV maps and then struggling to apply textures
• Not saving work often (Blender crashes, it happens)
• Rendering at low resolution and wondering why it looks bad
Key Takeaways
• Blender is the best free software to start 3D product modeling
• Always start with reference images before touching the software
• Block out basic shapes first, add detail second
• Materials and lighting do most of the heavy lifting in making a render look real
• UV unwrapping is how you apply flat designs like labels to 3D surfaces
• Export your final render as PNG with a transparent background for maximum flexibility
• Practice on simple products first (a bottle or box) before doing complex shapes
Frequently Asked Questions
How long does it take to create a 3D product model as a beginner?
For a simple product like a box or bottle, expect 4 to 8 hours for your first model, including rendering. As you practice, this drops significantly. Complex products with lots of detail can take 20+ hours even for experienced modelers.
Do I need a powerful computer for 3D product modeling?
Not necessarily for modeling. But for rendering, a dedicated GPU makes a big difference in speed. Blender’s Cycles engine benefits a lot from GPU rendering. You can still render on a basic laptop; it just takes longer.
What is the difference between 3D modeling and 3D rendering?
Modeling is building the 3D object, the shape, and the geometry. Rendering is converting that 3D scene into a 2D image, like a photograph. Modeling comes first, rendering comes last. Both together give you the final product visual.
Can I create a 3D product model without any design experience?
Yes. Plenty of people learn 3D modeling from scratch with no prior design background. It takes patience and practice, but the tools are accessible. Start with Blender’s official beginner tutorials on YouTube before jumping into product modeling.
What file formats should I use for 3D product models?
For sharing or importing into other software, use FBX or OBJ. For Blender-to-Blender sharing, use .blend files. For final rendered images, PNG with transparency or JPEG is standard. For animations, MP4.
Is Blender good enough for professional 3D product visualization?
Yes. Professional studios and freelancers use Blender for product visualization, packaging design, and commercial renders. Many agencies have switched to Blender entirely because of its capabilities.
Conclusion
Creating your first 3D product model feels overwhelming at the start. Too many buttons, too many tools, too much to learn. But the actual process is straightforward once you break it down: gather references, block the shape, refine the geometry, add materials, set up lighting, and render.
Start with something simple. A cube product box, a perfume bottle, or a basic food can. Get through the full process once, even if the result isn’t perfect. The second time is always twice as fast.
If you need help bringing your product visuals to life professionally, the team at SAGA Designs, a results-focused graphic design agency, works with brands on product modeling, 3D visualization, and packaging design. From concept to render, they handle the full process so your products look their best before they ever reach a shelf or a screen.